Swilken Bridge
St Andrews, Fife
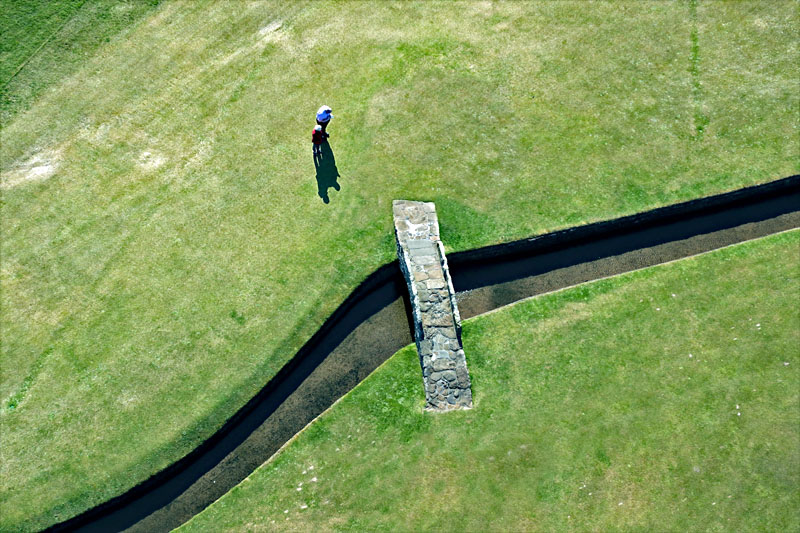
In this view the 18th tee is off to the top of the picture and the 18th fairway
is at the bottom of the image. (Looking back towards the tee.)
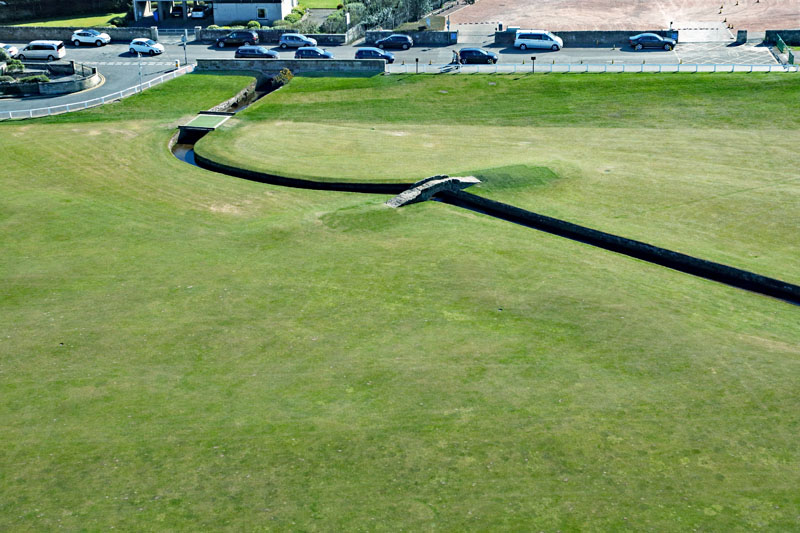
You can see both bridges in the image above. The bridge with the long
parapet (with cars parked on it) is the original Swilken Bridge.
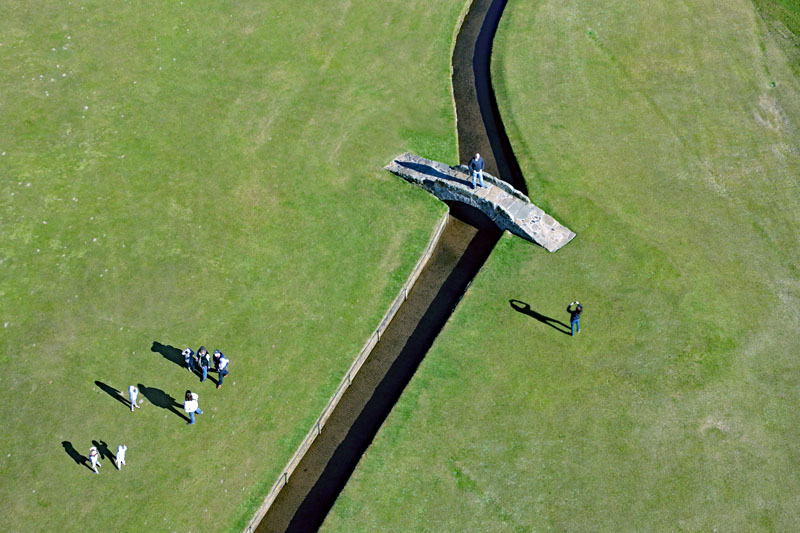
This image shows the bridge acting as its regular support for a mature male model in
smart but casual attire.
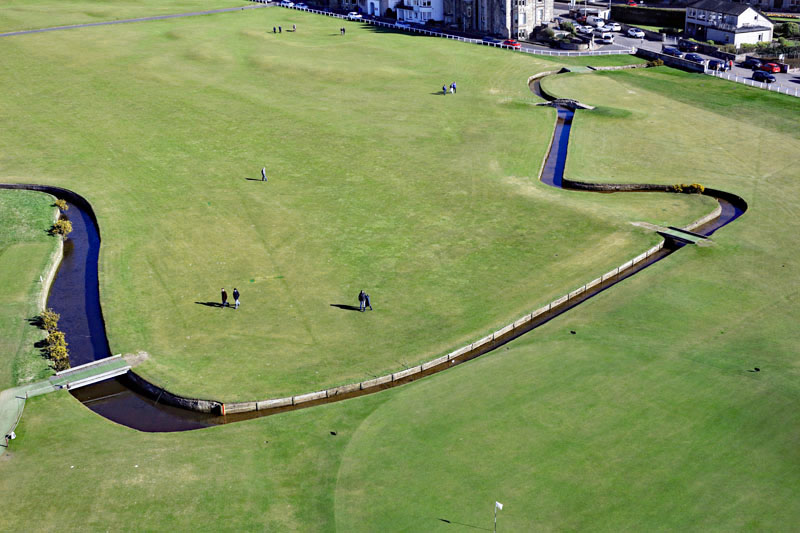
Looking back up towards the Royal and Ancient with the 1st fairway on
the left and the 18th on the right you can see the meandering line of the
Swilken Burn quite clearly.